Air-Dry Clothes Indoors Without Crowding the Rack
Successful drying needs an appropriate garment position, enough spacing and a place where moisture can leave the room.
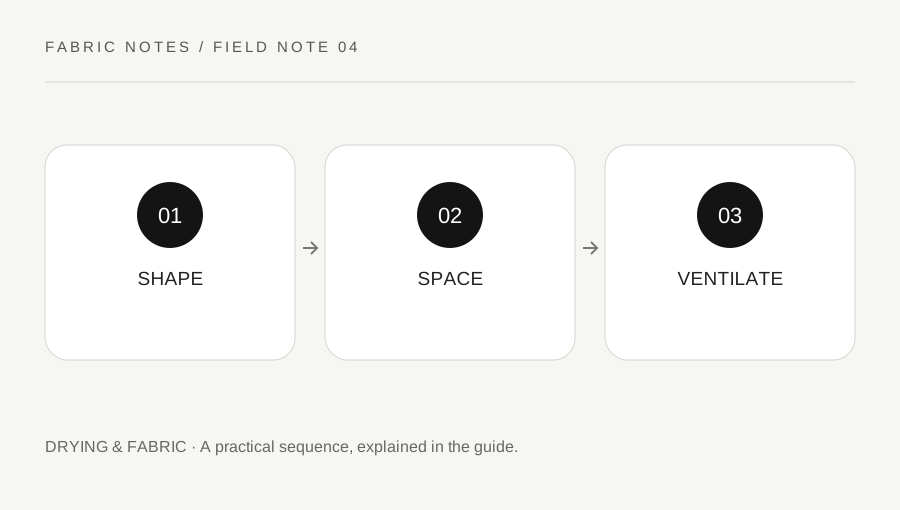
Original explanatory diagram. Numerical examples in this guide illustrate the reasoning; they are not a claim of hands-on testing.
Let the label choose the position
Check whether the item should be hung, dried flat or kept away from direct heat. A wet knit can stretch on a hanger, while another garment may benefit from being hung carefully to reduce creasing. Do not assume the drying method follows automatically from the washing temperature.
Use the permitted spin setting to remove excess water and handle the wet item gently. Protect the drying surface and avoid placing wet fabric directly on furniture or an electrical appliance. A rack should stand securely without blocking a doorway or heater.
Arrange a load with room to dry
Spread items so wet surfaces are not pressed together. Unfold sleeves, separate layers and leave gaps between larger pieces. A densely packed rack may feel efficient while keeping the middle of the load wet for much longer.
Choose a suitable ventilated space and manage room moisture according to the home’s conditions. Do not drape clothing over portable heaters or block radiator airflow with an improvised drying arrangement. If the room remains damp or condensation repeatedly develops, reassess the drying location and ventilation rather than ignoring it.
Finish the process before storage
Check cuffs, waistbands, pockets and layered seams, not just the easiest-to-reach surface. Turn or reposition items when appropriate so hidden areas can dry. Put garments away only when they are fully dry.
A practical rack plan starts with bulky pieces on outer bars, smaller items in the spaces between and flat-dry garments on a suitable separate surface. If the whole load cannot fit with reasonable spacing, use a smaller load or another permitted drying method. The limiting factor is usable drying area, not the number of bars on the rack.
Plan a drying rack before the washer finishes
Count the bulky pieces and identify which garments need flat support. Reserve a suitable space for those first. Then place larger hanging items so they do not fold back against themselves or seal off the middle of the rack. Use remaining gaps for smaller pieces without packing every opening tightly.
Check the room rather than only the rack. If windows develop persistent condensation or the space remains damp, the moisture has not disappeared because the clothes feel less wet. Review ventilation and the drying location in a way that suits the building and weather. Keep access routes clear and follow heating-device safety instructions.
At the final check, feel layered seams, waistbands and pockets. If one area remains damp, reposition the garment appropriately rather than putting it away with the rest. An indoor drying routine has three stages: suitable support, enough space and a complete dryness check. Skipping the last stage can turn an otherwise careful wash into a storage problem. Smaller loads or a different permitted drying method may be more practical than trying to fit an entire basket onto one crowded rack.
A practical checklist
Tick items for your own use. This checklist is saved only in this browser.
Questions that come up
Can I dry everything on a radiator?
Follow the garment and heating-device instructions. Direct heat can be unsuitable, and obstructing heaters can create safety problems.
Can I store clothes when the outside feels dry?
Check thick and layered areas too. Waistbands, cuffs and pockets can remain damp after the main fabric surface feels dry.
Does a crowded rack simply take a little longer?
Crowding can keep wet surfaces in contact and restrict airflow. Rearrange or reduce the load so the drying setup is appropriate.
References & scope
Background references checked on 18 October 2026. The examples and practice exercises are original editorial explanations, not copied procedures or professional advice.